Remodeling a bathroom can transform one of the most important spaces in your home into a functional and stylish retreat. Understanding the process can help you plan effectively and ensure a smooth renovation. Here’s a comprehensive guide to the bathroom remodeling process:
1. Planning and Design
The journey begins with an initial consultation with a professional contractor or designer. This stage involves discussing your needs, preferences, and budget. Together, you’ll develop a detailed design plan that includes selecting fixtures, materials, and finishes, keeping in mind both functionality and aesthetics. Setting a realistic budget is crucial, and it’s wise to include a contingency fund for any unexpected expenses.

2. Permits and Approvals
Depending on the scope of your remodel, obtaining the necessary building permits is essential. Your contractor can assist with the permit application process to ensure compliance with local building codes. It’s important to wait for all required approvals before commencing any construction work.
3. Demolition
Preparation is key before demolition begins. Clear out the bathroom, removing all personal items and any fixtures you plan to replace. The demolition process involves removing old fixtures, cabinetry, flooring, and possibly walls. Proper disposal of debris is crucial to maintain safety and cleanliness
throughout the project.
4. Plumbing and Electrical Work
At this stage, plumbers and electricians reroute pipes and wiring to accommodate your new design. This might include moving the toilet, installing new lighting, and upgrading plumbing for showers and sinks. Ensuring all work meets code requirements through scheduled inspections is essential before proceeding further.
5. Framing and Drywall
If your remodel involves structural changes, such as moving walls, framing the new walls and installing any necessary supports is the next step. Once framing is complete, drywall is installed and prepped for finishing.
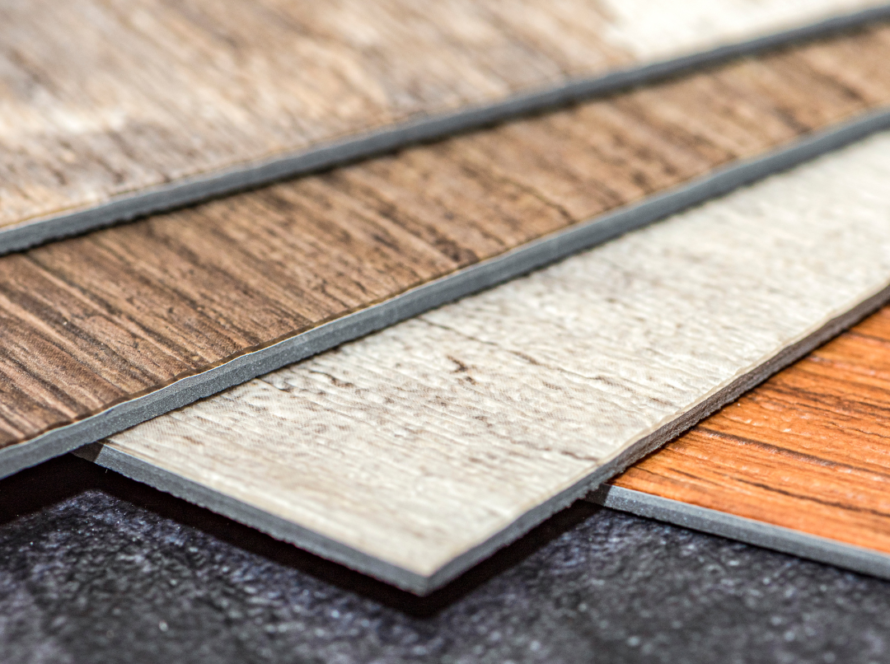
6. Flooring and Tiling
New flooring materials, such as tile, vinyl, or laminate, are installed, ensuring the subfloor is level and prepared. Tiling the walls, backsplashes, and shower areas follows, requiring precision to achieve a professional finish.
7. Painting and Finishing
With the major construction complete, it’s time to paint the walls, ceiling, and any other areas needing a fresh coat. Choosing moisture-resistant paint ensures durability. Finishing touches like installing trim, baseboards, and other details give the bathroom a polished look.
8. Fixture Installation
Plumbing fixtures, including sinks, toilets, showers, and bathtubs, are installed, with careful attention to secure and leak-free connections. Lighting fixtures, outlets, and switches are also installed and tested to ensure everything functions properly.
9. Cabinetry and Storage
The installation of new cabinets and vanities is next, ensuring they are level and securely attached. Additional storage solutions, such as shelves, medicine cabinets, or towel racks, are added to enhance functionality.
10. Final Inspection and Cleanup
A final inspection is conducted to ensure all work meets your expectations and complies with local building codes. Thorough cleanup follows, removing any dust, debris, and construction materials, leaving your bathroom pristine.
11. Handover and Enjoyment
The project concludes with a handover, where your contractor walks you through the completed remodel, explaining any maintenance requirements and warranties. Now, it’s time to enjoy your newly remodeled bathroom, designed to meet your needs and enhance your home’s value.
A bathroom remodel is a significant undertaking, but with careful planning and the right team, it can be a rewarding experience. At RemodUX Bathroom Remodeling, we guide you through each step, ensuring your vision becomes a reality.
Contact Us Today for a consultation and let us help bring your dream bathroom to life.